Mod Podge Matte Waterbase Sealer, Glue and Finish – 16 oz
- Suitable for paper craft projects
- Is quick-drying for multiple coats build up and dries clear
- Can be sanded to a smooth finish
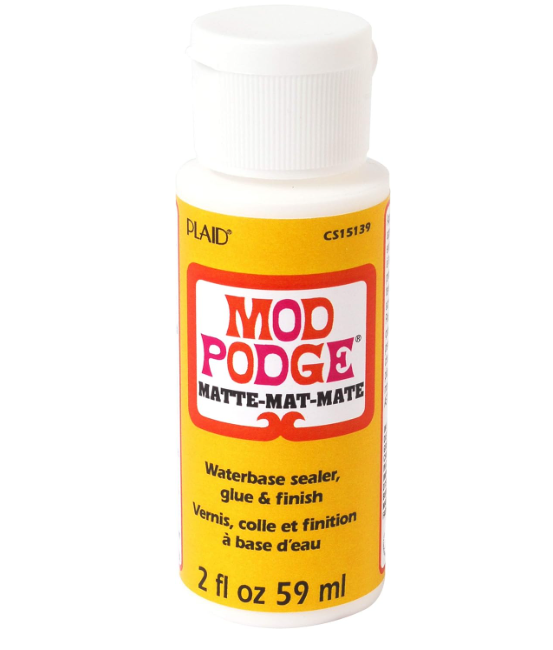
Mod Podge Matte Water Base Sealer/Glue And Finish, White, 2 oz
- An all in one decoupage glue, sealer and finish
- Quick-drying for multiple coat build up and dries clear; can be sanded to a smooth finish
- Cleans up easily while wet with soap and water; certified AP non-toxic; water base
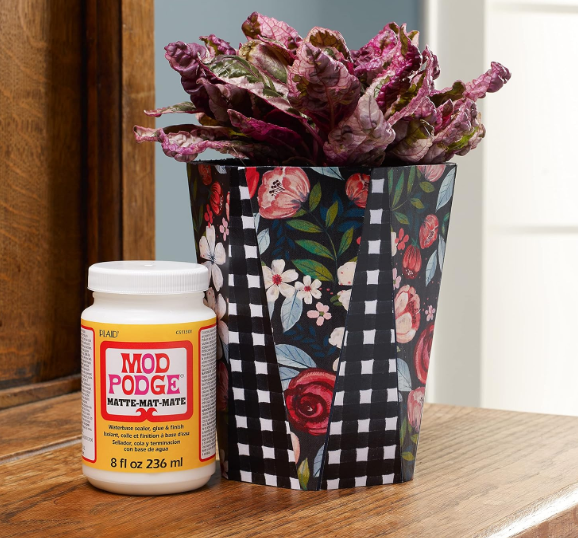
Mod Podge CS11301 8 oz Matte Waterbase Sealer, Glue and Finish, Clear
- Waterbase sealer, glue and finish
- Is sealer, glue and finish in 1 product
- 236 ml = 8 fl oz
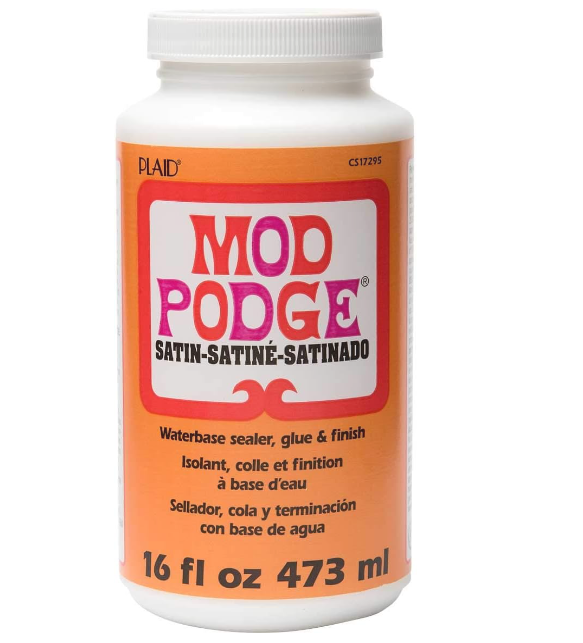
Mod Podge CS17295 Glue, Transparent, Large, 16oz
- Dries to a clear satin finish with a subtle sheen
- Ideal for home decor projects
- Cleans up easily while wet with soap and water
- Certified AP non-toxic; water-based
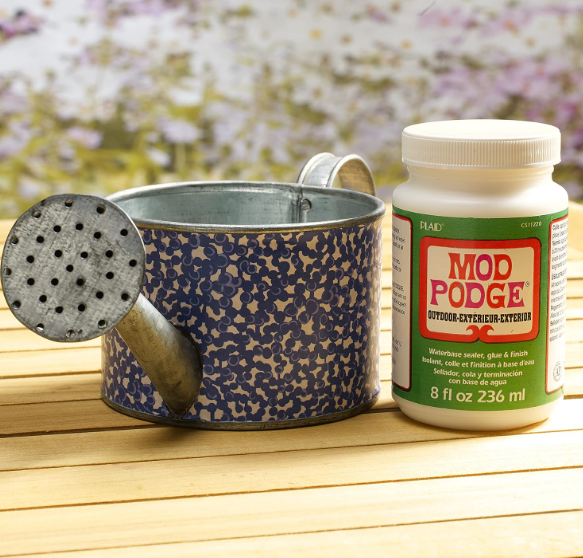
Mod Podge CS11220 236 ml Outdoor Waterbase Sealer
- Waterbase sealer, glue & finish for Outdoor Projects
- Use for outdoor projects
- 236 ml = 8 fl oz
- Not flammable
Dive into the World of Decoupage with This All-in-One Wonder Glue
Crafters, DIY enthusiasts, and creative souls, gather ’round! Today, we’re delving into the wonderful world of Mod Podge – that magical elixir that has been transforming ordinary objects into extraordinary works of art for decades. Whether you’re a seasoned crafter or a curious newcomer, this comprehensive guide will equip you with all the knowledge you need to master the art of Mod Podge. So, grab your paintbrush and let’s embark on this creative journey together!
What’s the Buzz About Mod Podge?
Mod Podge is not just your average glue – it’s a versatile crafting superhero. This all-in-one wonder serves as a glue, sealer, and finish, making it an indispensable tool in any crafter’s arsenal. From decoupage projects to furniture makeovers, Mod Podge opens up a world of creative possibilities.
But what exactly can you use Mod Podge for? The better question might be: what can’t you use it for? This miracle worker adheres to a variety of surfaces, including wood, paper, fabric, and even glass. You can use it to create stunning photo transfers, seal and protect your artwork, or give new life to old furniture. The sky’s the limit when it comes to Mod Podge projects!
Applying Mod Podge: The Art of the Perfect Coat
Now that we’ve piqued your interest, let’s talk about application. Applying Mod Podge is a bit like frosting a cake – it requires a gentle touch and a bit of patience. Here’s a step-by-step guide to help you achieve that perfect, smooth finish:
- Start with a clean, dry surface.
- Apply a thin, even coat of Mod Podge using a foam brush or a soft bristle brush.
- Smooth out any air bubbles or wrinkles as you go.
- Allow the first coat to dry completely (usually about 15-20 minutes).
- Apply additional coats as needed, allowing each layer to dry in between.
Remember, when it comes to Mod Podge, less is often more. Thin, even coats will give you the best results and help prevent bubbles and wrinkles.
The Great Waterproof Debate
One of the most common questions about Mod Podge is whether it’s waterproof. The short answer? It depends. While standard Mod Podge formulas are water-resistant, they’re not completely waterproof. However, fear not, water-loving crafters! Mod Podge does offer specialized outdoor formulas that provide better water resistance for projects exposed to the elements.
If you’re working on a project that might encounter moisture, consider using Mod Podge Outdoor or Mod Podge Dishwasher Safe for added protection. Just remember, even these formulas aren’t invincible, so use your best judgment when it comes to water exposure.
Fabric Fantastic: Mod Podge on Textiles
Can you use Mod Podge on fabric? Absolutely! In fact, Mod Podge and fabric make a fantastic duo. Whether you’re creating custom t-shirts, sprucing up old throw pillows, or adding some pizzazz to canvas shoes, Mod Podge can help you achieve amazing results on fabric.
For best results on fabric, use Mod Podge Fabric formula. It’s specifically designed to remain flexible after drying, so your fabric projects will maintain their softness and movement. Just remember to pre-wash your fabric before applying Mod Podge to remove any sizing or finishes that might interfere with adhesion.
The Waiting Game: Drying and Curing Times
Patience is a virtue, especially when it comes to crafting with Mod Podge. While Mod Podge typically feels dry to the touch within 15-20 minutes, it’s important to understand the difference between drying and curing.
Drying refers to the initial set of the product, when it’s no longer tacky to the touch. Curing, on the other hand, is the process by which Mod Podge fully hardens and reaches its maximum durability. This can take anywhere from 1-4 weeks, depending on the thickness of your application and environmental factors like humidity.
For best results, allow your projects to cure fully before subjecting them to heavy use or moisture. Trust us, your patience will be rewarded with a durable, long-lasting finish!
Surface Matters: Choosing the Right Canvas for Your Creativity
While Mod Podge is incredibly versatile, some surfaces work better than others. Here’s a quick rundown of some of the best surfaces for Mod Podge projects:
- Wood: An absolute classic for Mod Podge. Just make sure it’s clean and sanded smooth.
- Paper: Perfect for decoupage projects. Avoid using very thin or delicate papers that might wrinkle.
- Fabric: Great for customizing clothing and accessories.
- Glass: Use Mod Podge to create beautiful, translucent designs on glass surfaces.
- Terra cotta: Ideal for outdoor planters and garden decor.
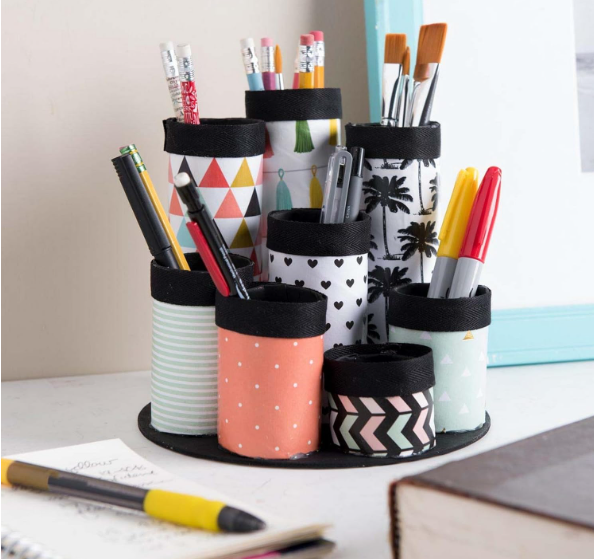
- Tin: Transform old tin cans into beautiful storage containers or decorative items.
Remember, proper surface preparation is key to a successful Mod Podge project. Always clean your surface thoroughly and let it dry completely before starting your project.
Safety First: Is Mod Podge Non-Toxic?
Good news for crafters of all ages – Mod Podge is non-toxic! This makes it a great choice for kids’ crafts and school projects. However, as with any craft supply, it’s always a good idea to supervise young children and avoid ingestion.
While Mod Podge is generally safe to use, some people may experience skin irritation. If you have sensitive skin, consider wearing gloves while crafting. And as always, work in a well-ventilated area to avoid inhaling fumes.
DIY Mod Podge: Fact or Fiction?
In the age of DIY everything, you might be wondering if you can make your own Mod Podge at home. While there are countless recipes floating around the internet for homemade Mod Podge, it’s important to note that these DIY versions won’t have the same properties as the real deal.
Authentic Mod Podge is formulated with specific ingredients that give it its unique properties – like its ability to act as a glue, sealer, and finish all in one. While homemade versions might work for simple projects, they likely won’t provide the same level of durability or versatility as store-bought Mod Podge.
Oops! Removing Mod Podge When Things Go Awry
We’ve all been there – a slip of the brush, and suddenly you’ve got Mod Podge where you don’t want it. Don’t panic! If you need to remove Mod Podge from a surface, here are a few methods you can try:
- For wet Mod Podge: Simply wipe it away with a damp cloth.
- For dry Mod Podge on non-porous surfaces: Try soaking the area with warm, soapy water to soften the Mod Podge, then gently scrape it away.
- For stubborn spots: You might need to use a commercial adhesive remover. Always test in an inconspicuous area first to ensure it won’t damage your surface.
Remember, prevention is better than cure. Use painter’s tape to protect areas you don’t want to Mod Podge, and always work carefully to avoid accidental spills or drips.
Glass Act: Mod Podge on Transparent Surfaces
Mod Podge and glass make a beautiful combination. Whether you’re creating stained glass effects, personalizing drinking glasses, or upcycling old jars, Mod Podge can help you achieve stunning results on glass surfaces.
For best results on glass, start with a clean, dry surface. Use rubbing alcohol to remove any oils or residues that might interfere with adhesion. Apply your design, then seal it with several thin coats of Mod Podge, allowing each coat to dry completely before applying the next.
Keep in mind that while Mod Podge can create beautiful effects on glass, it’s not dishwasher safe unless you use the specific Dishwasher Safe formula. For decorative items that won’t be washed frequently, regular Mod Podge should suffice.
Sealing the Deal: Protecting Your Mod Podge Projects
One of the great things about Mod Podge is that it acts as both an adhesive and a sealer. However, for added protection, especially on frequently used items, you might want to add an extra sealing layer.
For indoor projects, additional coats of Mod Podge can provide extra protection. For outdoor projects or items that will see a lot of wear and tear, consider using a spray-on acrylic sealer for added durability.
Taking It Outside: Mod Podge in the Great Outdoors
Want to take your Mod Podge projects outside? You can, but you’ll need to use the right formula. Mod Podge Outdoor is specifically designed to withstand the elements, making it perfect for garden decor, outdoor signs, and more.
When working on outdoor projects, remember that even with Outdoor Mod Podge, your items may need to be resealed periodically to maintain their protection against the elements. Also, avoid placing outdoor Mod Podge projects in areas where they’ll be in constant contact with water.
Mod Podge Varieties: A Formula for Every Project
One of the best things about Mod Podge is the variety of formulas available. Here’s a quick rundown of some popular Mod Podge varieties:
- Mod Podge Original: The classic, all-purpose formula
- Mod Podge Matte: Gives a non-shiny finish
- Mod Podge Outdoor: For projects exposed to the elements
- Mod Podge Fabric: Specifically formulated for use on textiles
- Mod Podge Dishwasher Safe: For projects that need to withstand washing
- Mod Podge Dimensional Magic: Creates a raised, glossy embellishment
Each formula has its own unique properties, so choose the one that best suits your project needs.
Bubble Trouble: Preventing Air Pockets in Your Projects
Nothing ruins a Mod Podge project quite like pesky air bubbles. To prevent bubbles from forming:
- Apply thin, even coats of Mod Podge.
- Use a brayer or credit card to smooth out your project as you go.
- Work from the center outwards to push air bubbles to the edges.
- If bubbles do form, pop them with a pin and smooth the area while the Mod Podge is still wet.
Remember, patience is key. It’s better to apply multiple thin coats than one thick, bubble-prone layer.
Paint Party: Can You Paint Over Mod Podge?
Yes, you can paint over Mod Podge! In fact, Mod Podge can create an excellent base for paint projects. Just make sure your Mod Podge layer is completely dry before you start painting.
Acrylic paints work particularly well over Mod Podge. If you’re using other types of paint, you might want to do a small test patch first to ensure good adhesion.
Kid-Friendly Crafting: Mod Podge for Little Artists
Mod Podge is a fantastic medium for kids’ crafts. It’s non-toxic, easy to use, and cleans up with soap and water. Plus, the variety of projects you can create with Mod Podge is sure to keep young crafters engaged and excited.
When crafting with kids, opt for the original Mod Podge formula or the washable kids’ formula. Supervise young children during use, and make sure to protect work surfaces and clothing – Mod Podge can be messy!
Storing Your Liquid Gold: Keeping Mod Podge Fresh
To keep your Mod Podge in tip-top shape, store it in a cool, dry place away from direct sunlight. Make sure to tightly seal the container after each use to prevent the product from drying out.
If your Mod Podge does start to thicken, you can try stirring it well or adding a small amount of water to thin it out. However, if it’s developed a strong odor or shows signs of mold, it’s time to replace it.
The Test of Time: Does Mod Podge Yellow?
One concern many crafters have is whether Mod Podge will yellow over time. While all clear finishes may show some yellowing as they age, Mod Podge is formulated to resist yellowing better than many other products.
To minimize yellowing, store your finished projects away from direct sunlight and avoid exposing them to high heat. Using Mod Podge Clear Acrylic Sealer as a final coat can also help protect against yellowing.
Varnish Alternative: Mod Podge as a Protective Finish
While Mod Podge isn’t technically a varnish, it can certainly be used as a protective finish for many projects. Its durability and water-resistance make it an excellent choice for sealing and protecting a variety of crafts.
For best results when using Mod Podge as a finish, apply multiple thin coats, allowing each to dry completely before adding the next. Remember that while Mod Podge provides good protection, it may not be as durable as a traditional varnish for high-wear items.
Thinning Out: Adjusting Mod Podge Consistency
If you find your Mod Podge is too thick for your project, you can thin it out slightly with water. Add water a little at a time, stirring well, until you reach the desired consistency. Be careful not to add too much water, as this can affect the adhesive properties of the Mod Podge.
For most projects, Mod Podge should be about the consistency of honey. If it’s much thicker than this, it might be time for a new bottle.
And there you have it – your comprehensive guide to all things Mod Podge! Whether you’re decoupaging your first piece of furniture or embarking on your hundredth Mod Podge project, we hope this guide has given you the confidence to create something amazing. Remember, the key to successful Mod Podge projects is patience, practice, and a healthy dose of creativity. So go forth and craft – your Mod Podge masterpiece awaits!